Creating issues
Learn how to create an issue in your Hanzo Team workspace.
What are issues?
Issues represent specific tasks that need to be completed. Issues can be broken down into sub-issues for smaller tasks that need to be completed to accomplish the parent issue. Issues are organized into projects, which define distinct spaces that contain your tasks.
Note: Whenever an issue is created with a status of "Todo" and is assigned to a team member, the system automatically generates an action item in that member's Planner, allowing them to add it to their own schedule.
Creating an issue
Select the Tracker view by clicking the checkbox icon on the left sidebar, and ensure the side panel is open by clicking the horizontal lines at the top left.
Click the blue + New issue button at the top of the side panel. This will open a dialog where you can enter some initial settings for your issue. After entering your desired settings, click Create issue.
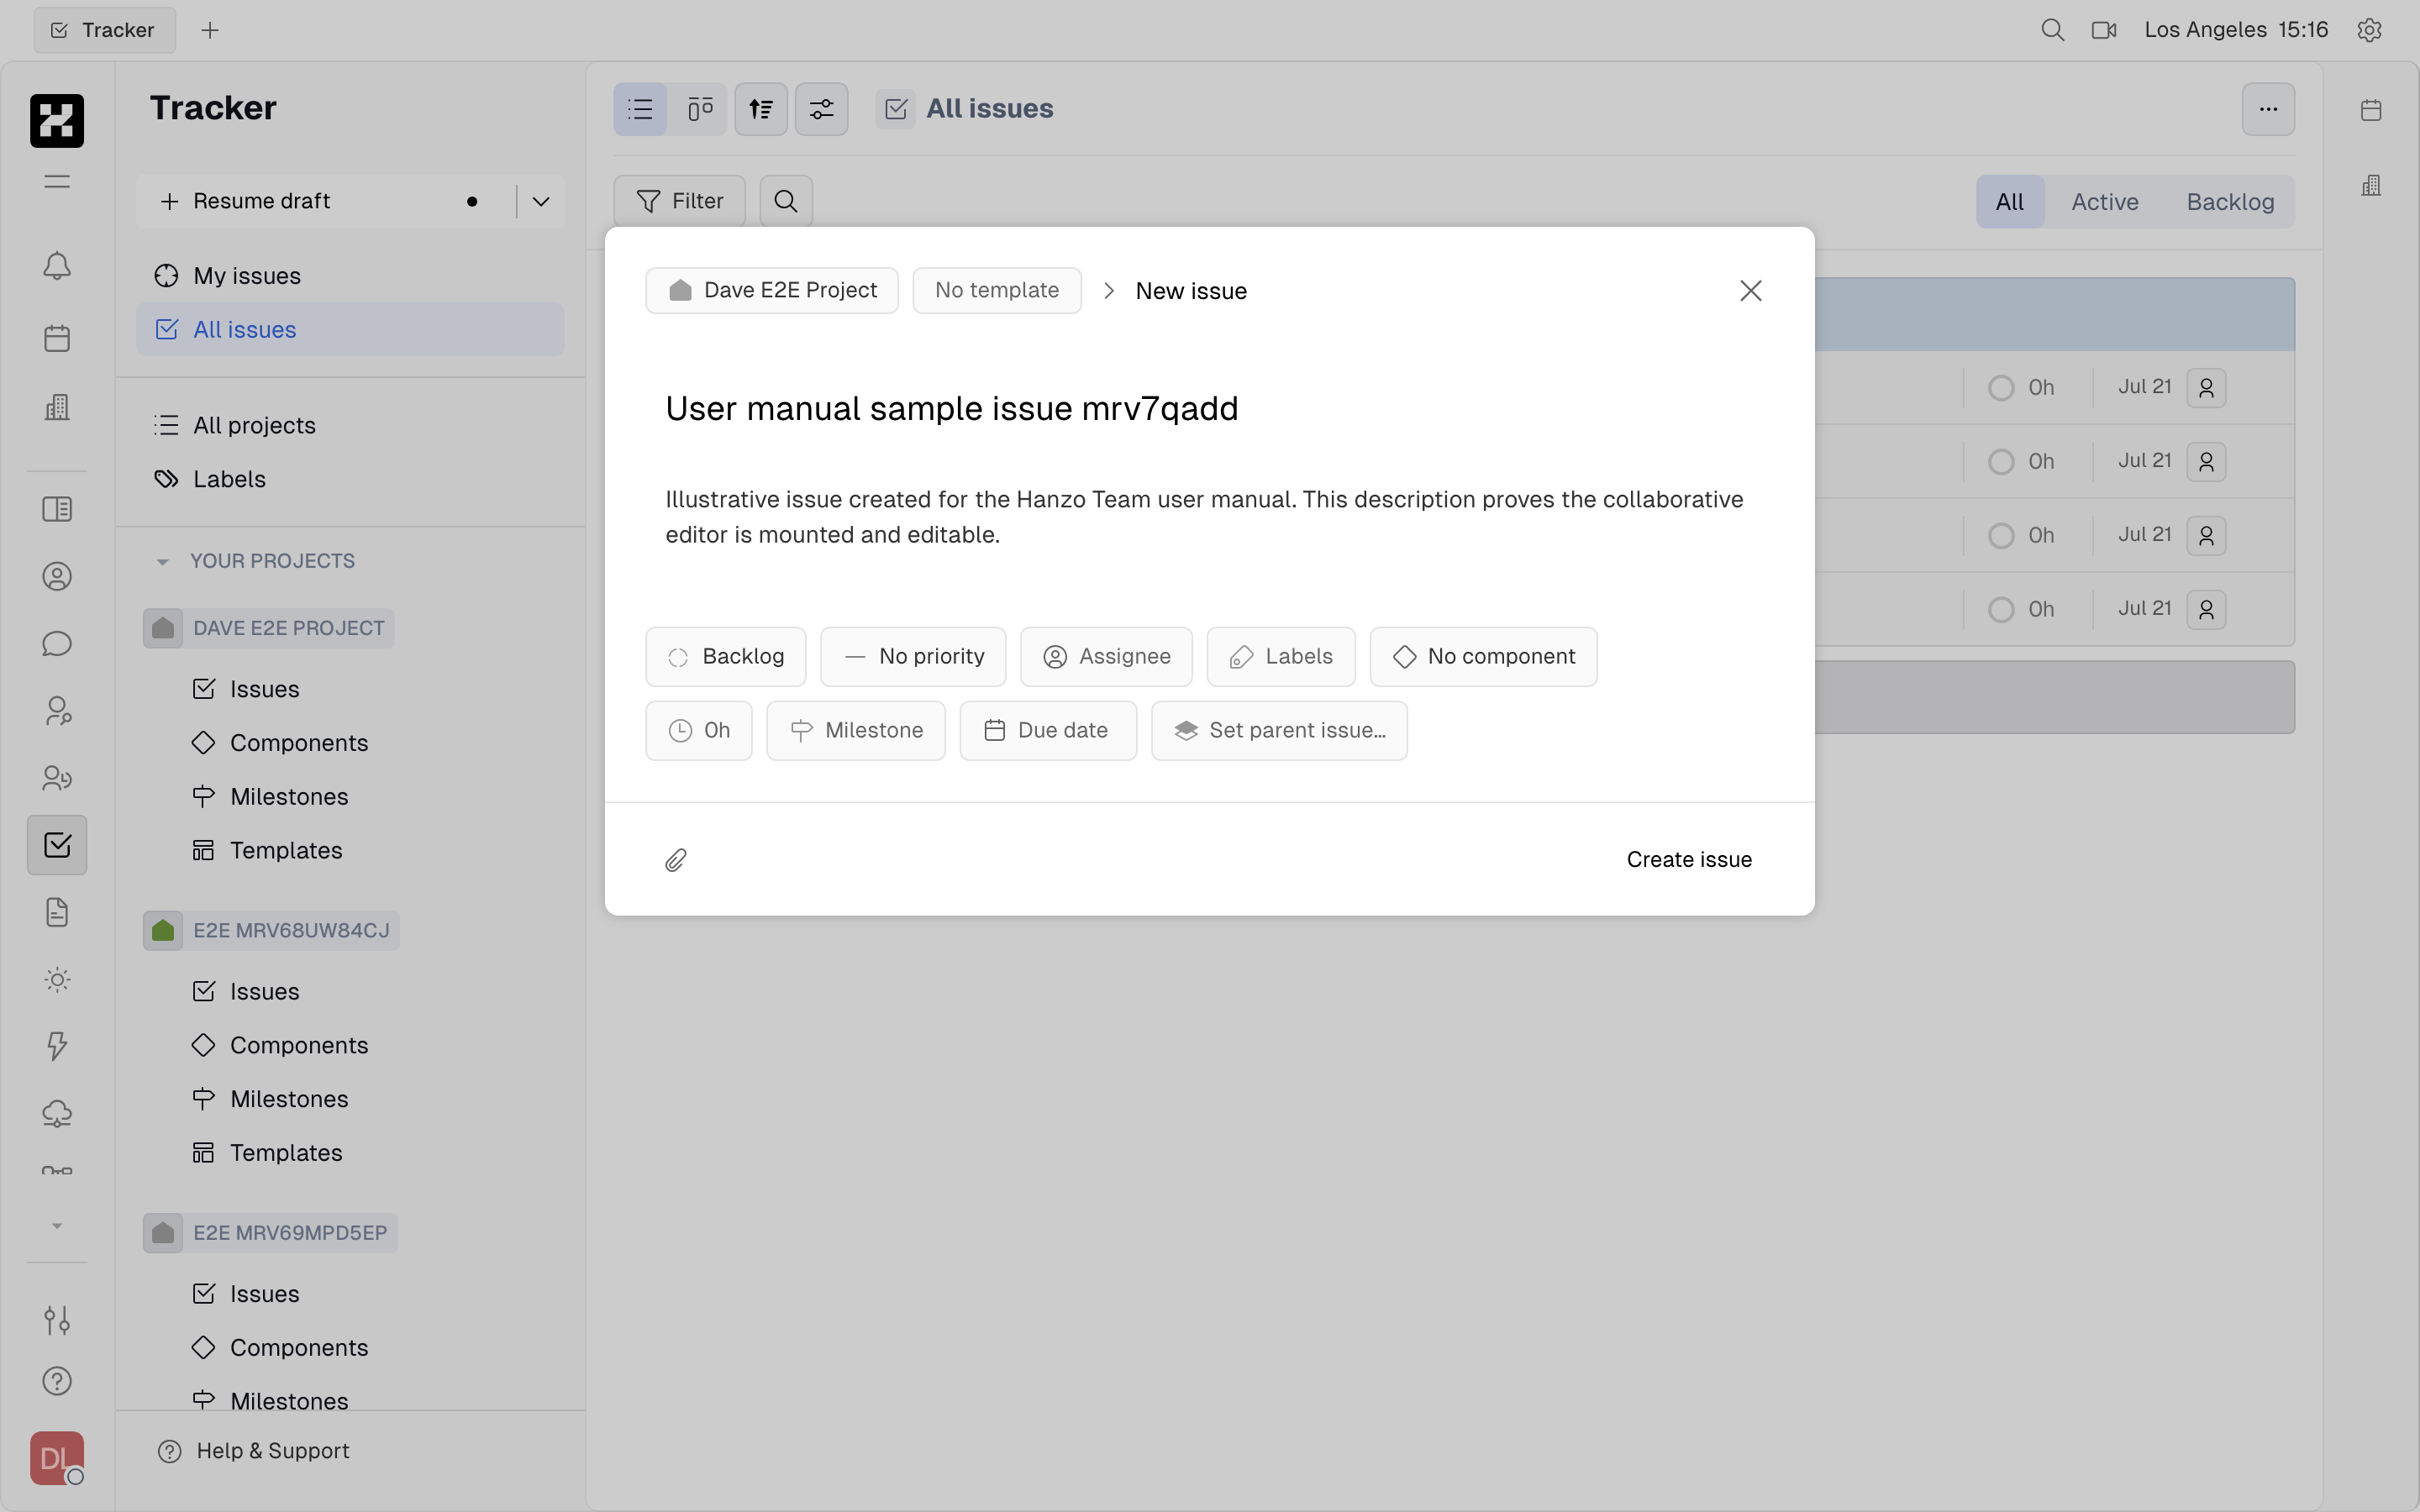
The New Issue dialog: choose the project at the top left, give it a title and description, then set Status, Priority, Assignee, Labels, Component, Estimation, Milestone, Due date, or a parent issue before clicking Create issue.
Note: If you navigate away while creating an issue, you'll notice that the
+ New issuebutton becomes+ Resume draft. Click this to re-open the issue you were working on.
Issue settings
When creating or editing an issue, you can configure the following settings:
Project: In the top left corner of the dialog, you will see the project that this issue is associated with. Click on the name of the project to see a dropdown where you can choose to select a different project to associate with this issue.
Issue title: A title for your issue.
Description: A description of your issue. Descriptions may be formatted with markdown formatting, including headers, codeblocks, links and more.
Issue status: Setting the issue status to "Todo" (and adding an assignee) will automatically generate an action item in that member's Planner
Priority: Choose from No priority, Low, Medium, High or Urgent.
Assignee: Select a member to assign this issue to.
Labels: Add labels for this issue or add new ones. This is optional, but can be helpful for sorting issues later. To learn more about managing labels, take a look at this guide.
Estimation: Add an estimation for how long this issue will take to complete. This is optional, but is a helpful tool for workflow tracking and scheduling.
Due date: Select a due date for this issue. This is also optional.
Set parent issue: Make this issue the sub-issue of an existing issue. If the issue already has a parent, simply click the unset icon next to the parent issue to detach it.
Attach: Attach a file, image or other media to this issue.
The issue view
Once created, an issue opens to its own detail view. The title and rich-text description sit at the top, with an Activity feed below where comments and every status change are recorded. The right-hand panel holds the issue's fields — Status, Priority, Assignee, Labels, Component, Milestone, task type, and time estimates — plus Collaborators and a State History.
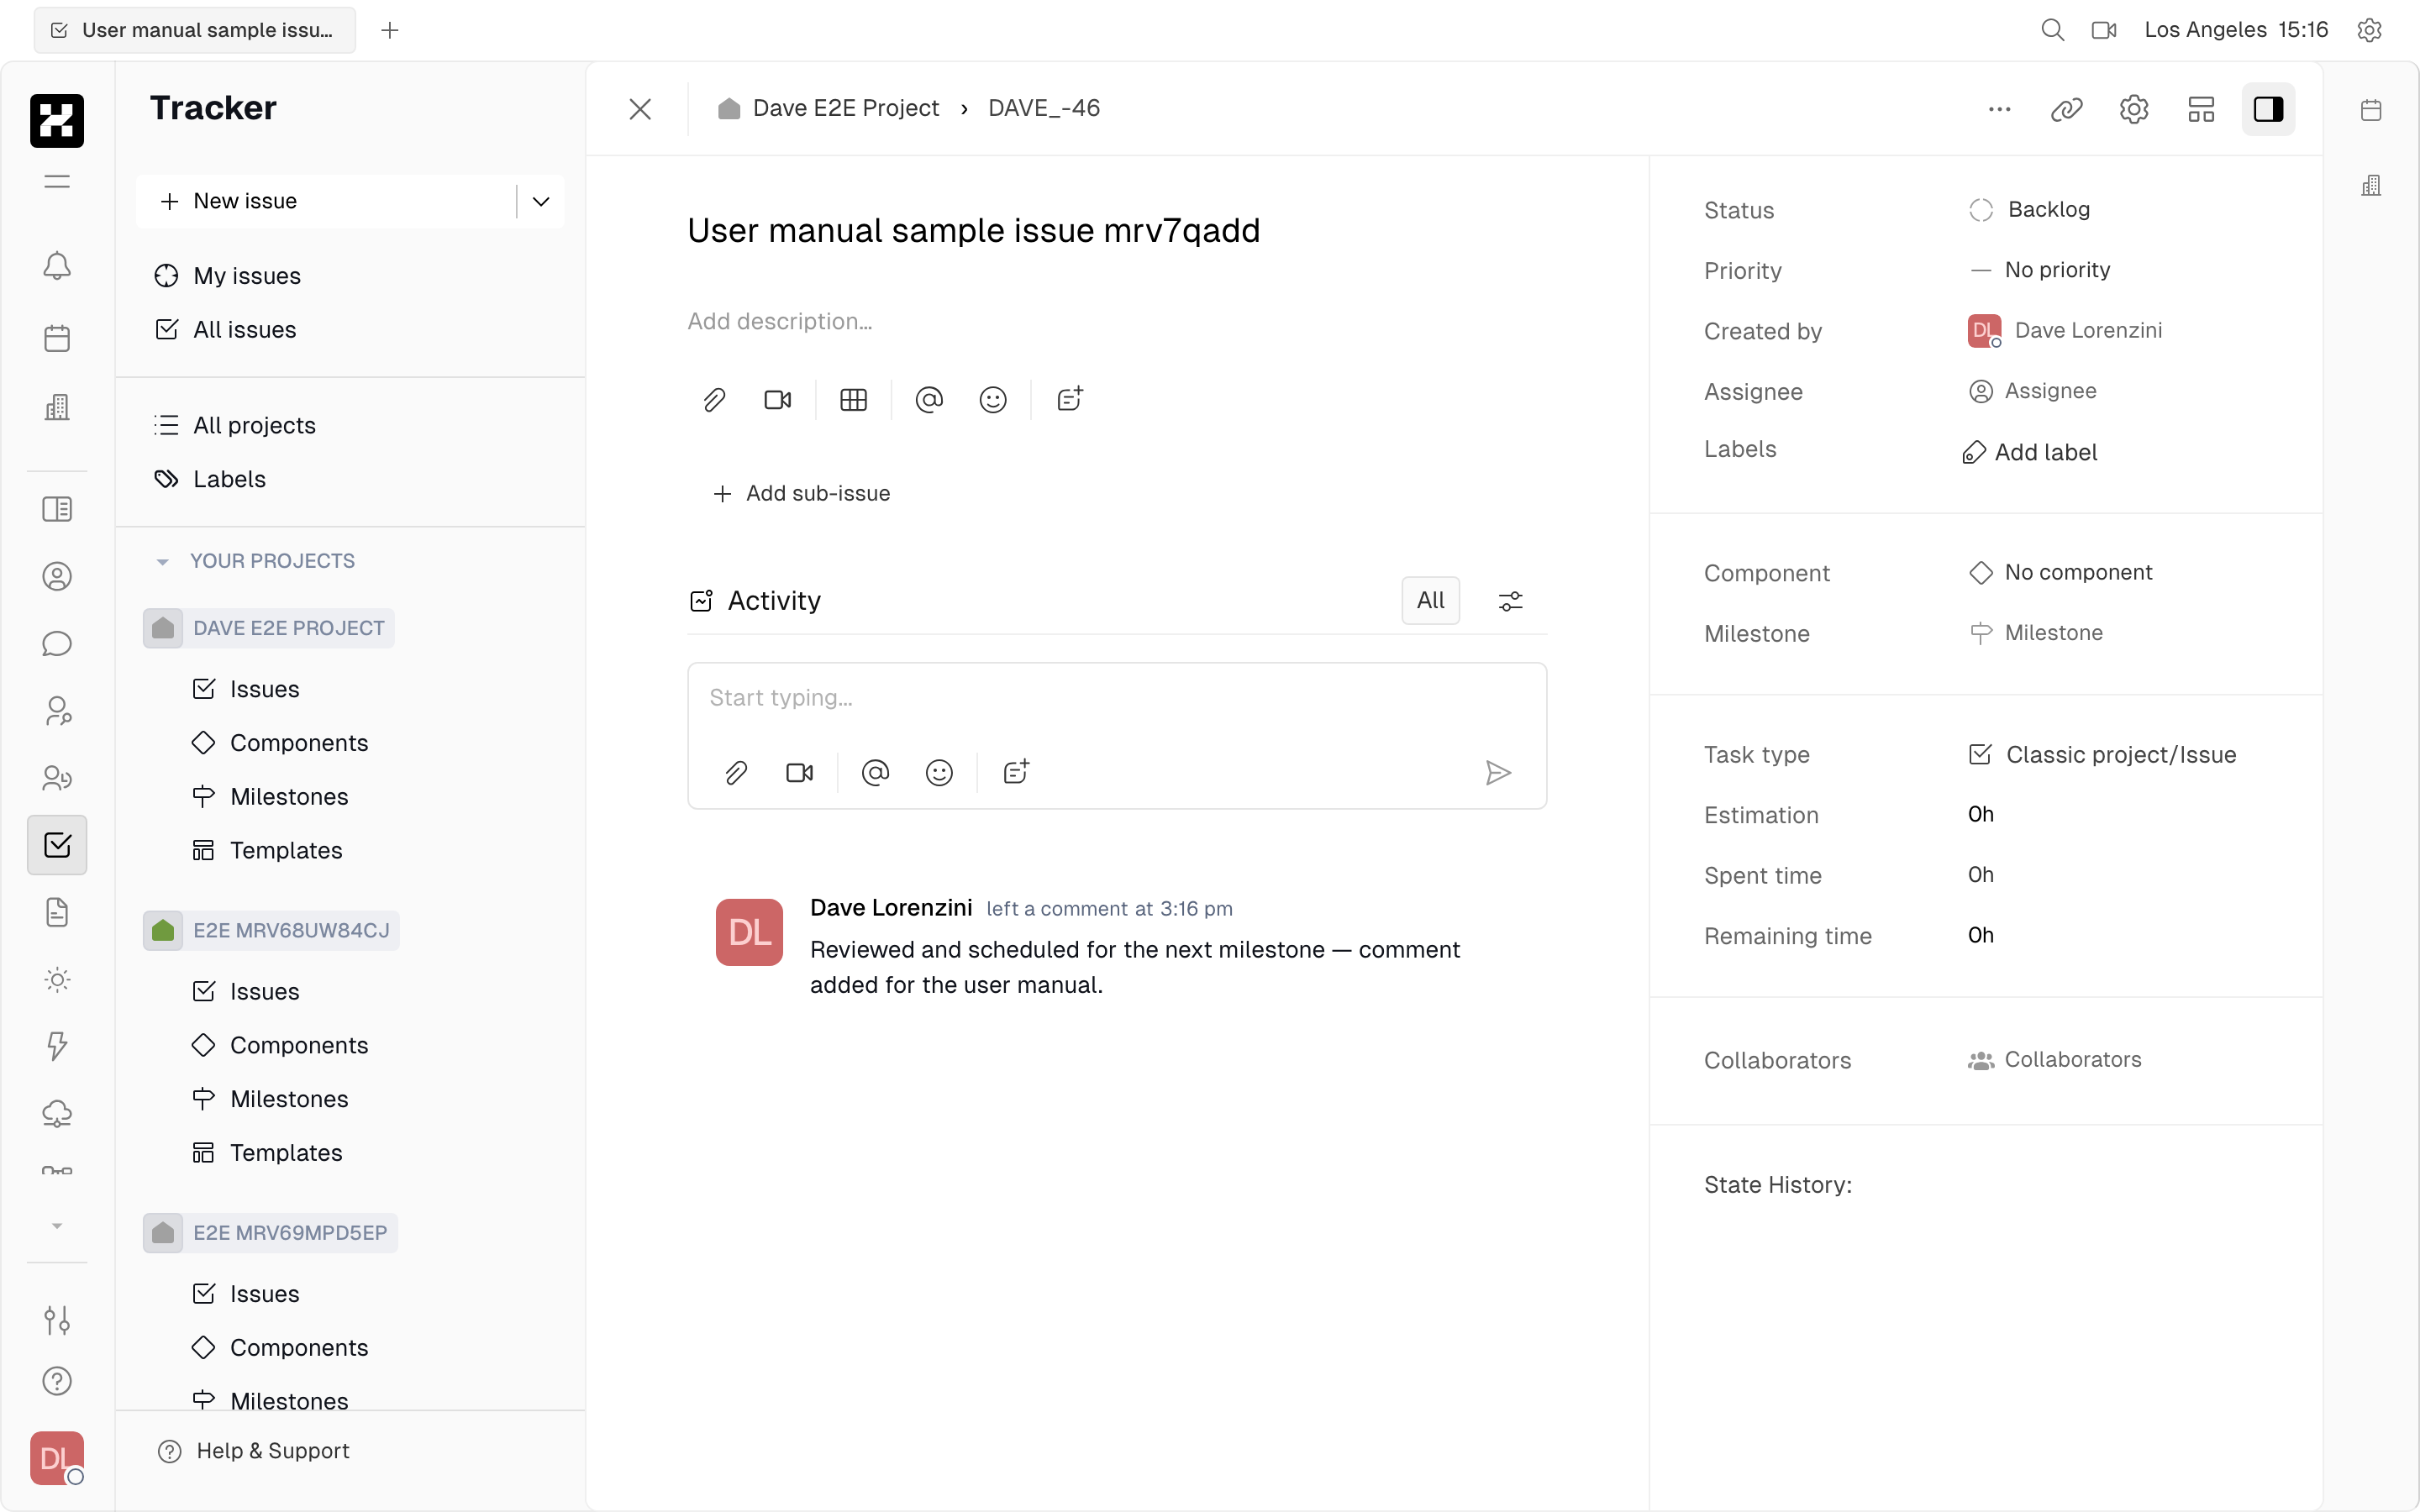
An issue: description and Activity feed on the left, all of the issue's fields on the right.
Add a comment by typing in the Activity composer; attach files, mention teammates, or drop in a text template with the toolbar icons. Use Add sub-issue under the description to break the work down further.
On mobile: the side panel of fields moves below the description, so you scroll down to reach Status, Assignee, and the rest.
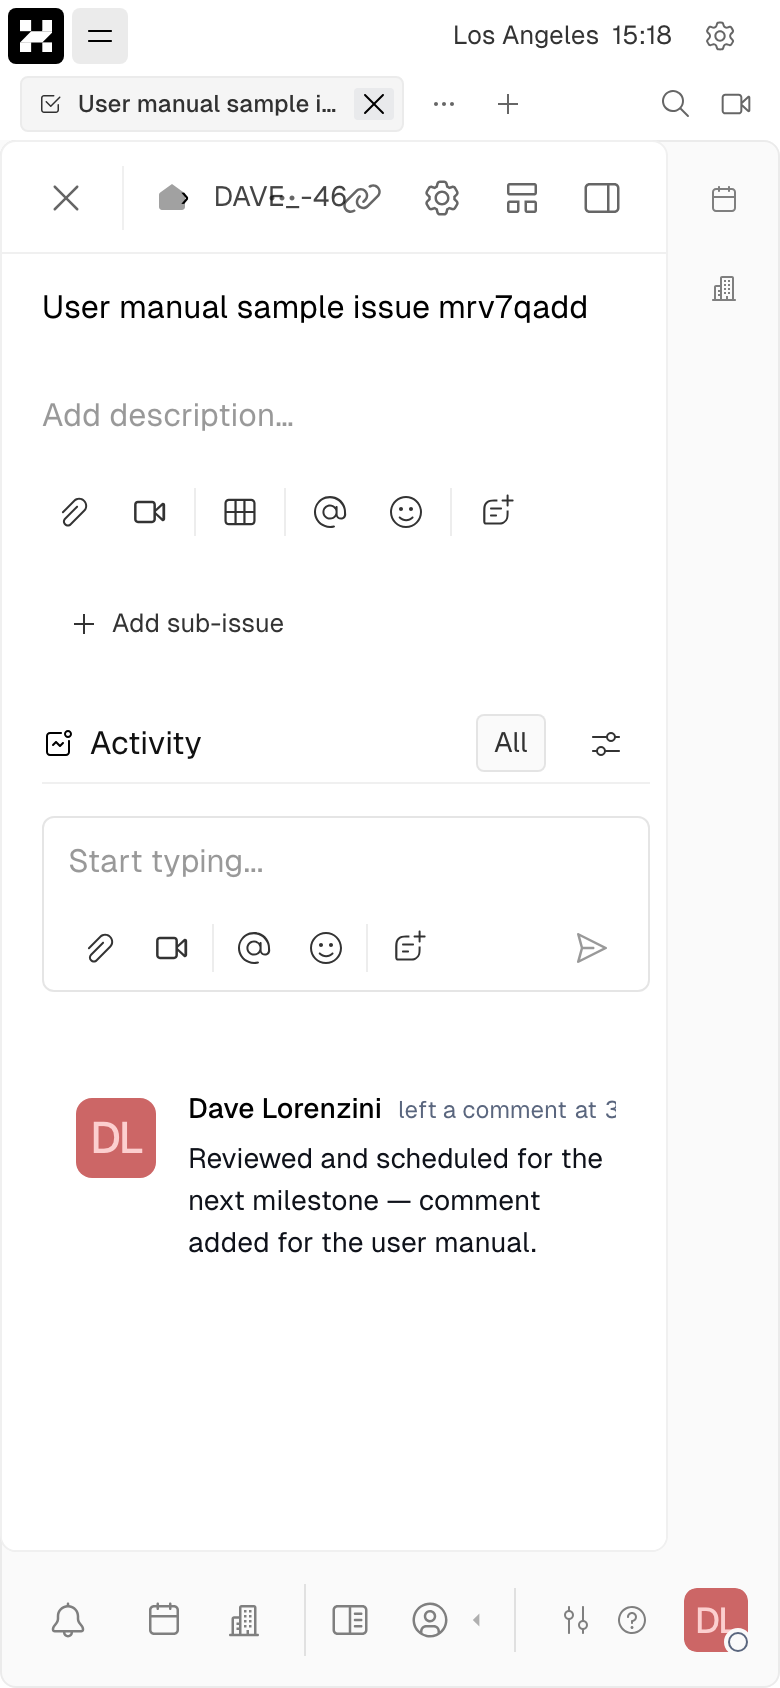
An issue on a phone — fields stack below the description.
Tips for creating effective issues
There are so many ways to customize issues to suit the needs of your specific projects and workflows! However, there are a few tips to keep in mind as you create issues for your team.
- Issues should be small in scope, representing a task assigned to just one person. For larger tasks, use sub-issues to break them down further.
- Unless they are in backlog, all new issues should have a status of "Todo" to trigger the system to create an action item for the assigned team member.
- In keeping with best practices, an issue status should not need to be manually changed from "Todo" to "In Progress" or "Done". The status of an issue can automatically be determined by the assigned team member's action item status. For more on how this process is automated (and why), read more about action items (previously called "todos") here.
Dive deeper with our video tutorial
Check out our tutorial on task tracking in Hanzo Team for a step-by-step guide on creating issues, assigning action items and getting the most out of task automations.