Employees
Learn how to manage employees in your Hanzo Team workspace.
The term "employees" in Hanzo Team does not necessarily imply a formal employment relationship — it is simply used to refer to members of your workspace. In your Contacts list, an "employee" is different from a "person", which refers to an external contact.
Open Contacts from the app rail. The navigator splits contacts into Employee, Guest, Person, and Company; the Employee tab lists everyone in your workspace with their role and contact info:
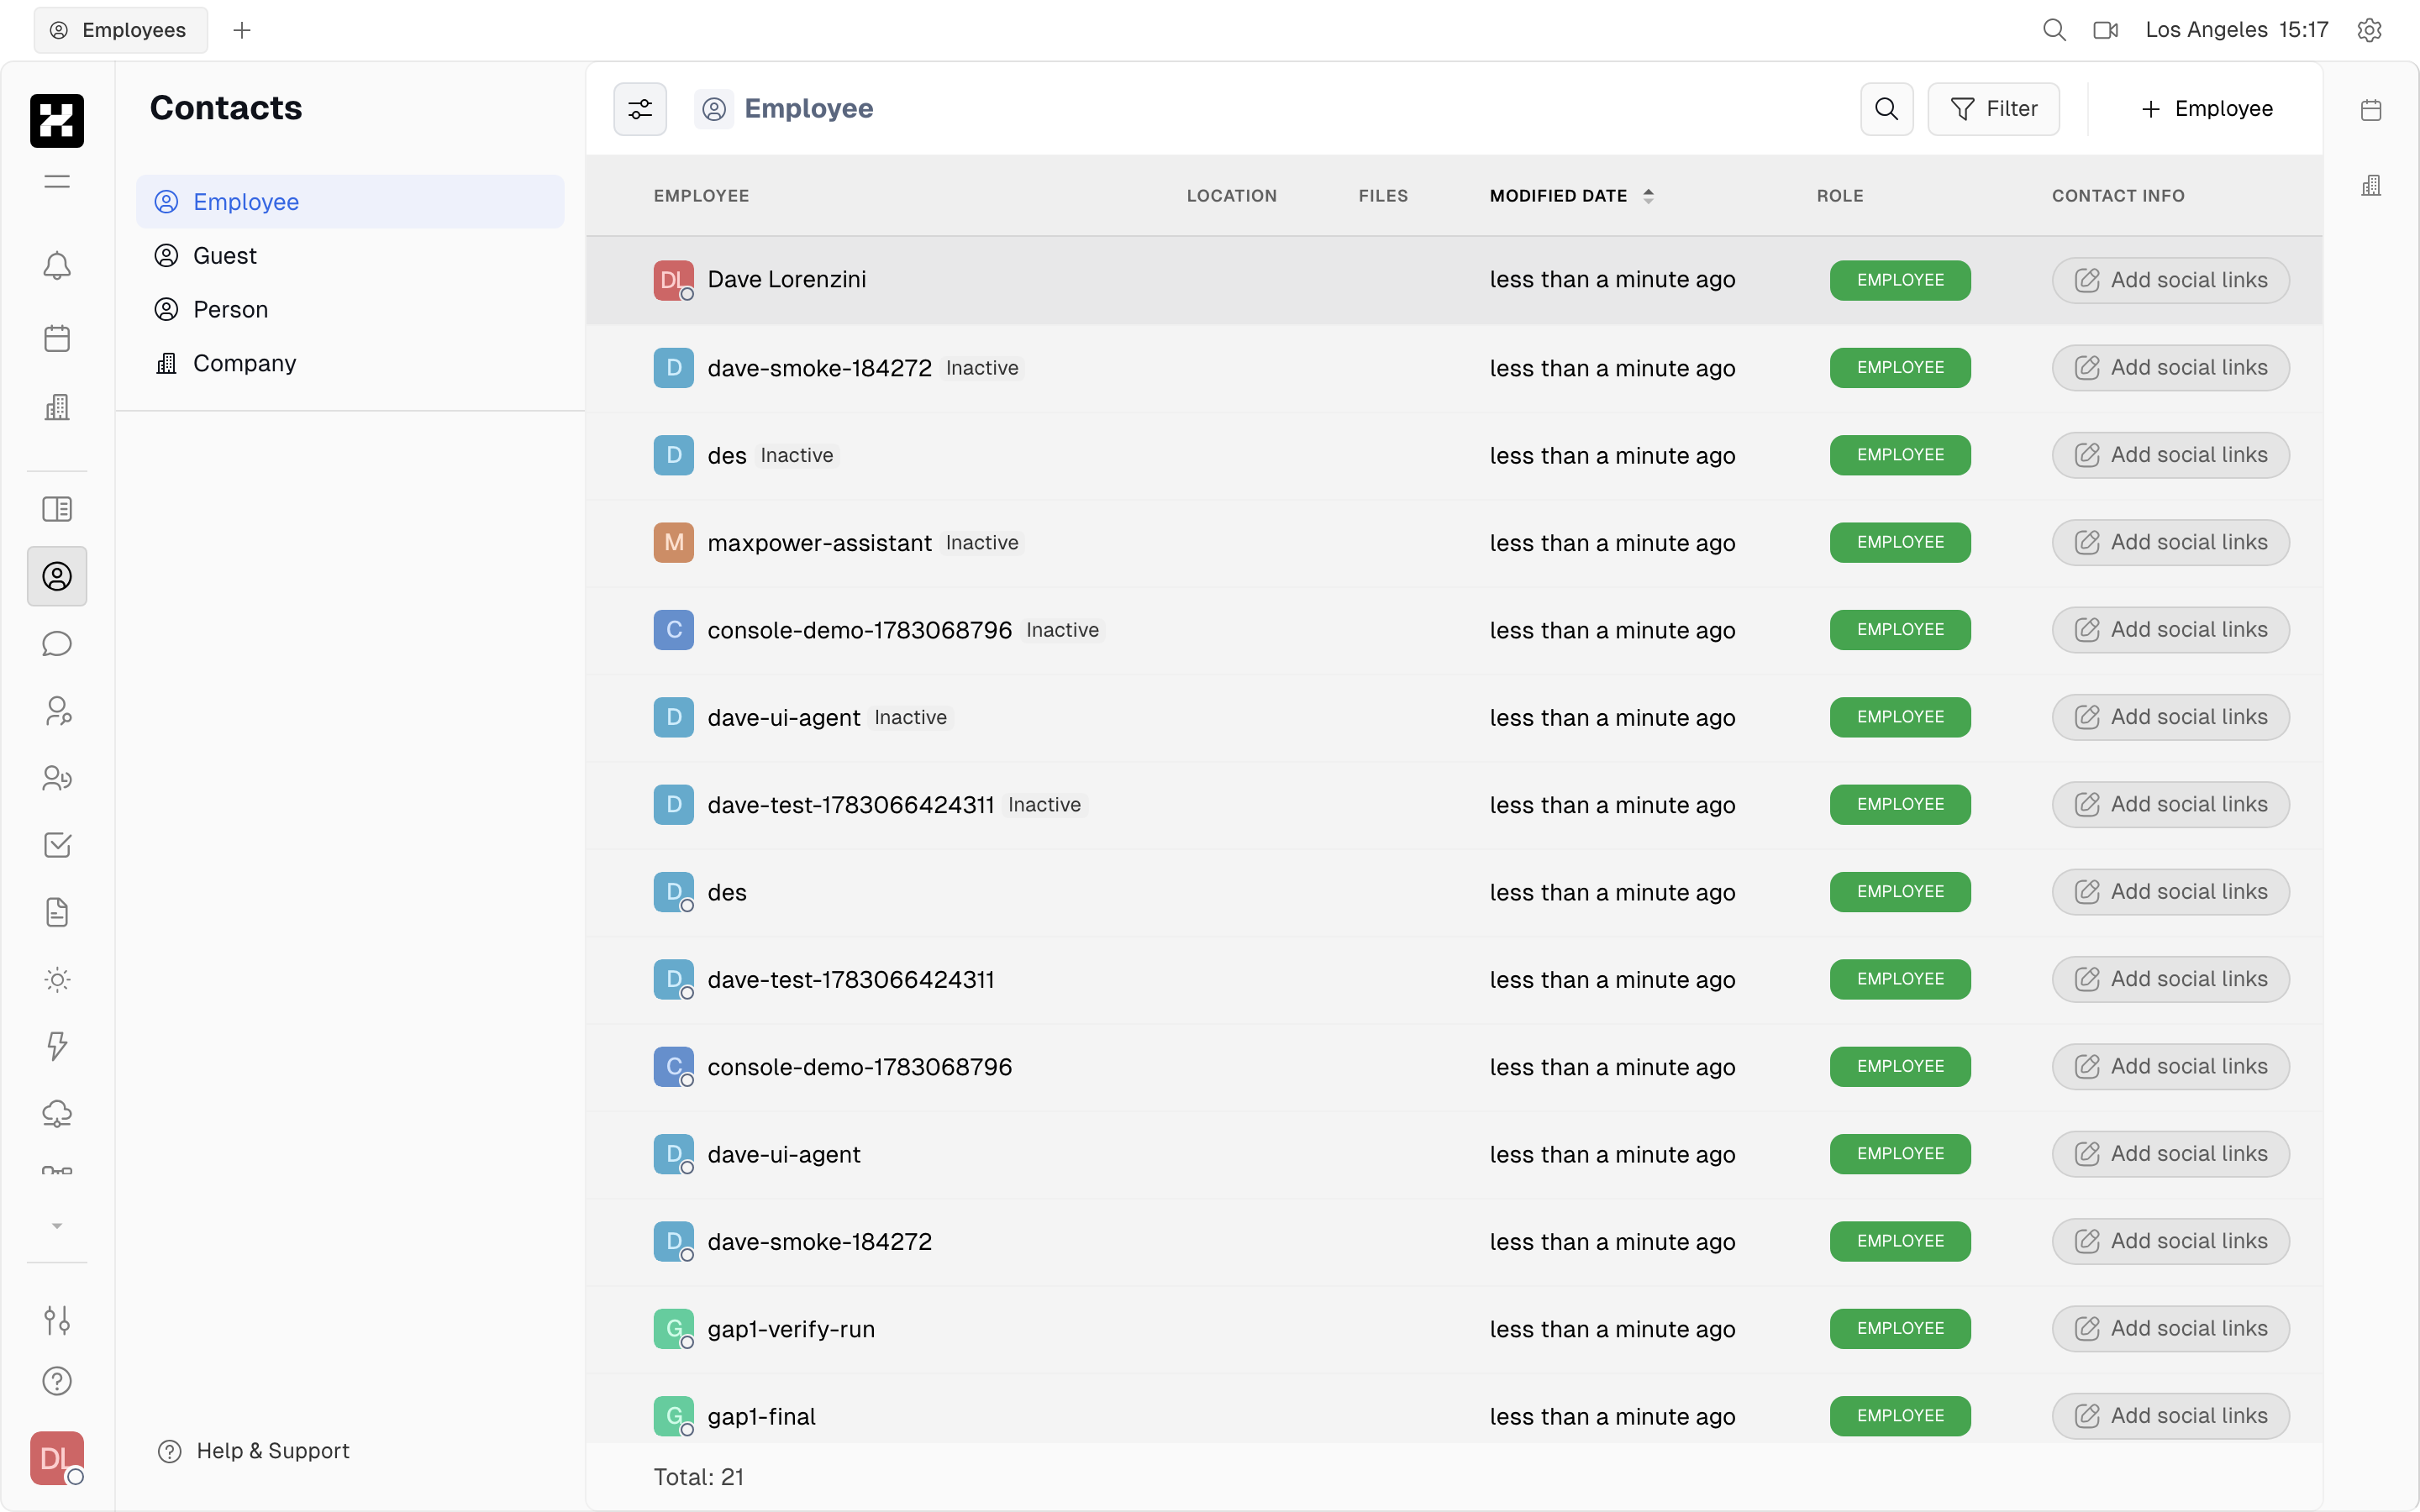
The Contacts directory on the Employee tab, showing names, roles, and last-modified time. (Bot and agent members appear here too — see Agents & bots.)
On mobile: the directory scrolls in a single column; some columns are trimmed to fit.
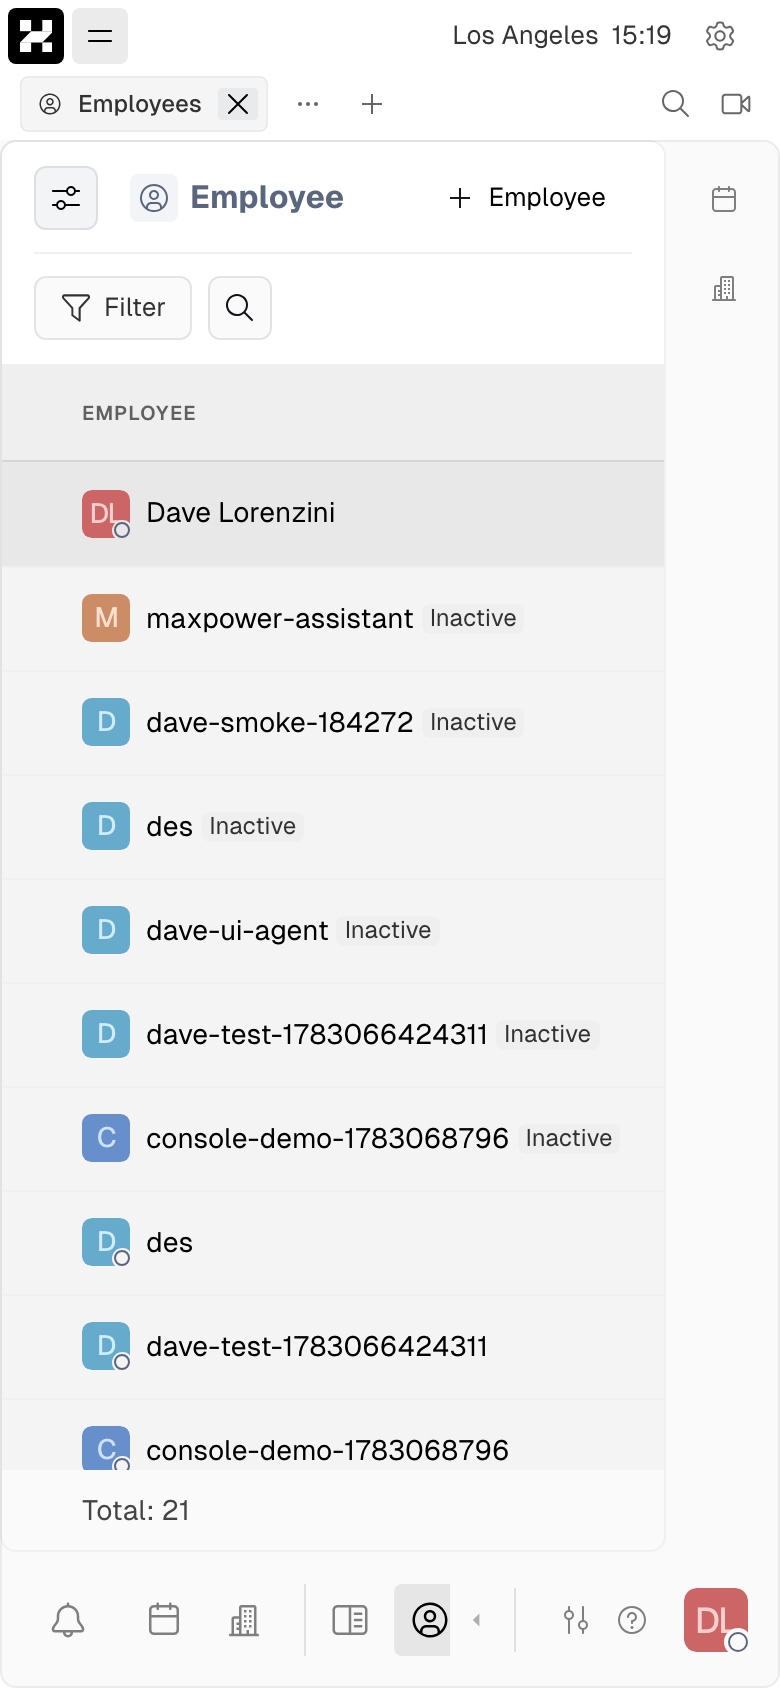
The Contacts directory on a phone.
Adding employees
When someone is invited to your workspace using an invite link, they will automatically be added as an employee in your Contacts when they join.
You can also add an employee by clicking the + Employee button in the top right corner of the Contacts page. Enter the employee's name and email address and click Create. This not only creates a contact for them as an employee, but also generates an invite link which will be sent to their email. They will only be able to sign up for your workspace with the email address you entered when you created their contact.
Merging contacts
In some cases, you may have a contact in your workspace who becomes an employee when they join your workspace. In this case, you can merge their "person" and "employee" contacts to avoid duplication. Open the settings menu and select Merge contacts, then select the contacts you would like to merge.
GitHub collaborators
If you've linked a GitHub repository to your Hanzo Team workspace (see our guide on GitHub integration), you'll find that your GitHub collaborators have automatically been added to your Contacts as "persons". Even though these contacts have been added to your Contacts, they will not be able to access your workspace unless they've been invited as employees.
Kicking employees
To kick an employee out of your workspace, right-click on their employee contact and select Kick employee. This cannot be undone. Kicking an employee will revoke their access to your workspace and mark them as inactive in your Contacts.
Note: Kicked employees will remain visible in your workspace, even after their access has been revoked. This is by design, as their employee account may still be linked to objects in the workspace, and you may need to re-invite an employee who was kicked by mistake. If you have no intention of restoring a kicked employee's access, you may choose to remove their contact information from their profile and replace the account name with "Inactive User".
Re-inviting kicked employees
To re-invite an employee that has been kicked from the workspace, navigate to Contacts and right-click on the empoloyee's contact. Select Resend Invite from the dropdown menu.