Workspace setup
Sign in with Hanzo, create or join a workspace, and invite your team.
Getting started with Hanzo Team takes a few minutes: sign in, create or join a workspace, and invite the people you work with.
Sign in
Hanzo Team uses your Hanzo account for authentication — the same identity that works across the Hanzo product suite. On the sign-in screen you can:
- Continue with Hanzo — single sign-on through hanzo.id. If you already have a Hanzo account, this is the fastest path.
- Continue with Google or Continue with GitHub — federate through your existing Google or GitHub identity.
- Email and password — sign up with an email address and password. You can also request a one-time code by email instead of a password.
There are no separate "Hanzo Team" credentials to manage — your Hanzo account is your login everywhere.
Note: If you were invited to a workspace, open the invite link and sign in with any of the methods above. You'll be added to the workspace automatically after signing in.
Create a workspace
A workspace is where your team's projects, documents, and channels live. After signing in for the first time, you'll be prompted to create your first workspace:
- Enter a workspace name (for example, your company or team name).
- Choose a region if prompted.
- Select Create workspace.
Your workspace is created with a default set of apps enabled. You can turn individual modules on or off later in Settings.
Organizations and workspaces
Hanzo Team follows a Slack-style model: you can belong to multiple organizations, and each organization can contain multiple workspaces. Switch between them from the account switcher at the top of the left sidebar — your session carries across all of them without signing out.
See Organizations & workspaces for the full model.
Invite your team
To invite people to a workspace:
- Open the account switcher and choose Invite members (or go to Settings → Members).
- Share the generated invite link, or enter email addresses to send invitations directly.
- New members sign in with their Hanzo account and land in your workspace.
You can set a member's role when you invite them, or change it later. See Roles and permissions to control what each role can do.
Workspace settings
Everything about how a workspace behaves lives under Settings — open it from the account menu (Workspace settings) or the gear at the top right. The list splits into your personal Account settings (profile, password, integrations, notifications, calendar) at the top and Workspace settings for the whole team below.
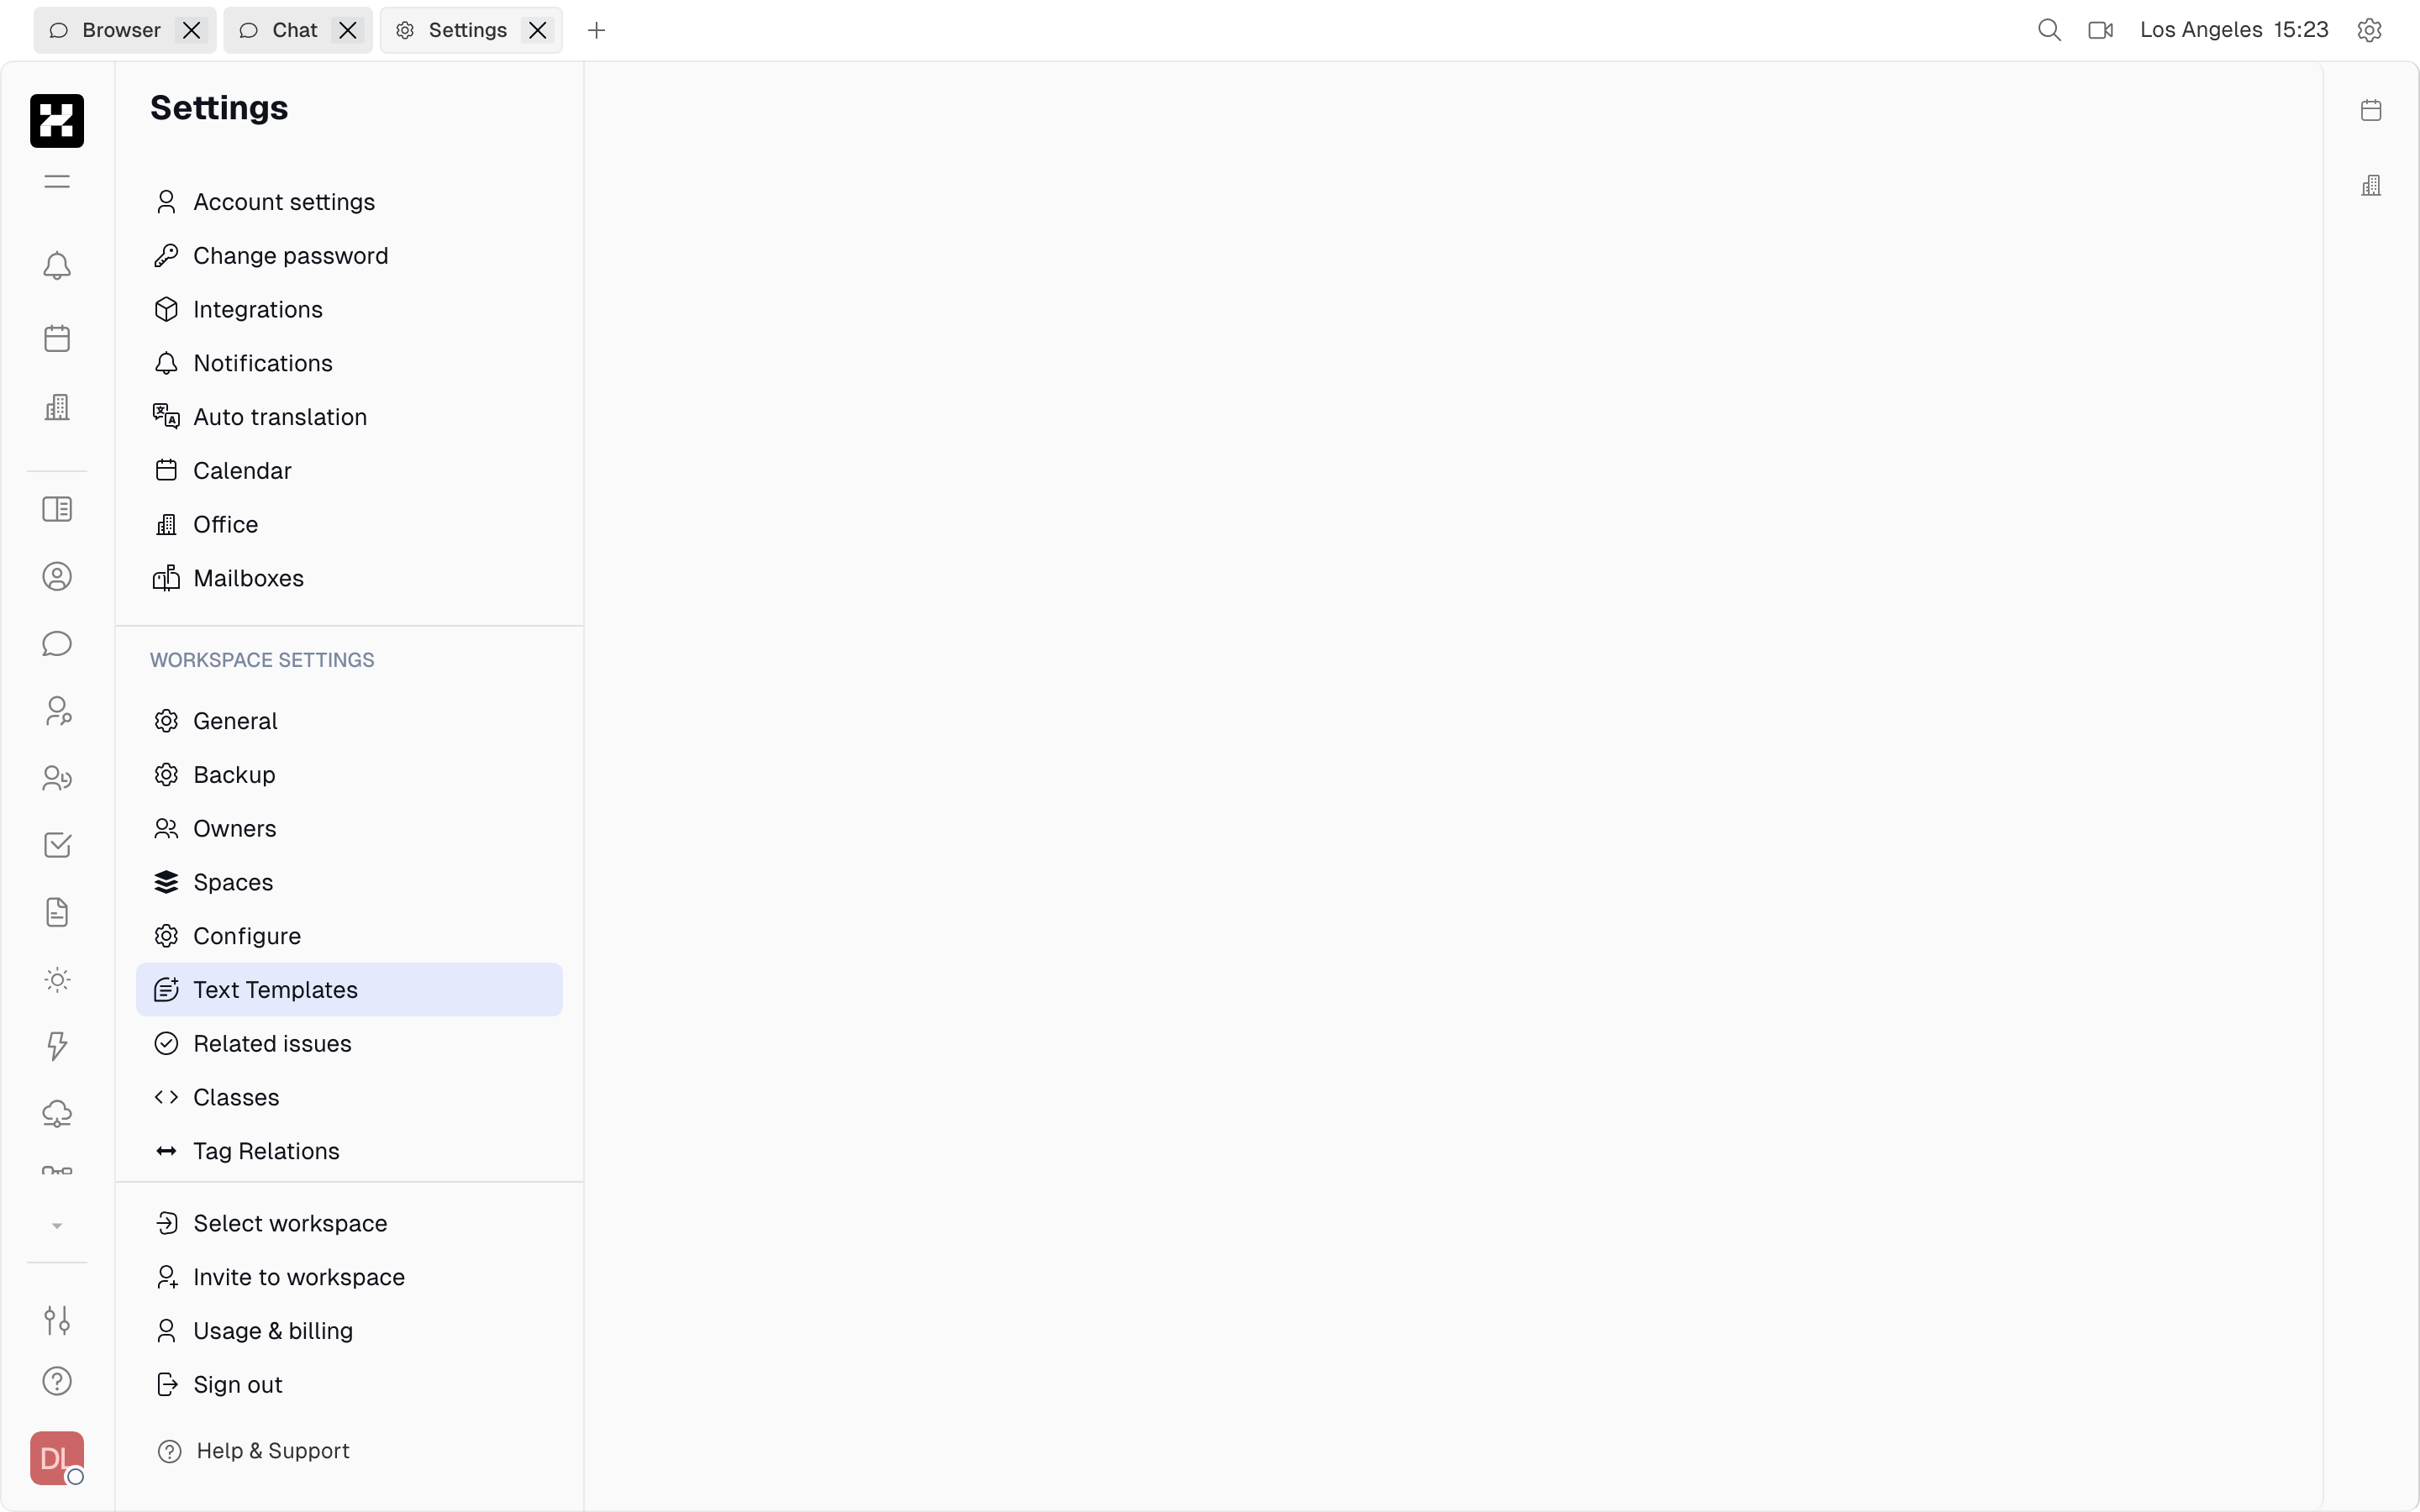
Workspace settings: General, Backup, Owners, Spaces, Text Templates, Classes.
Under Workspace settings you'll find:
- General — workspace name, icon, and defaults.
- Backup — export and restore your workspace data.
- Owners — who administers the workspace.
- Spaces — the projects, teamspaces, channels, and drives that exist, and who can see them.
- Text Templates — reusable snippets you can drop into any message or description.
- Classes — the underlying data model, for advanced customization.
Invite to workspace and Usage & billing sit at the bottom of the same panel, alongside Select workspace and Sign out.
On mobile: the settings list scrolls in a single column. It's readable, but editing longer forms is easier on a desktop.
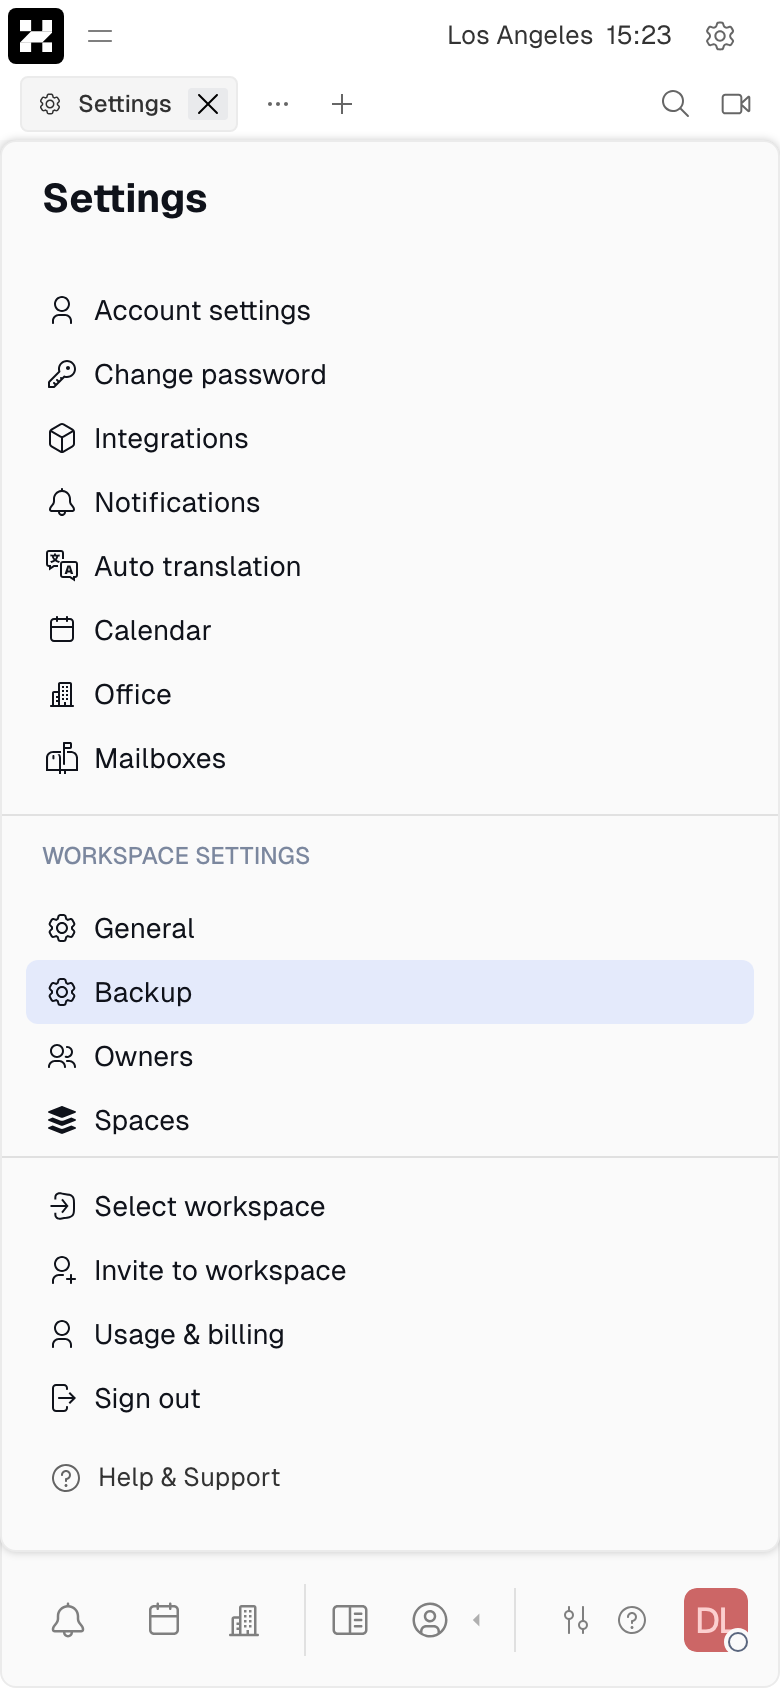
Workspace settings on a narrow screen.
Next steps
- Learn the basics — get to know the workbench and each app.
- Usage & billing — plans, seats, and metering.
- Mobile access — using Hanzo Team on the go.